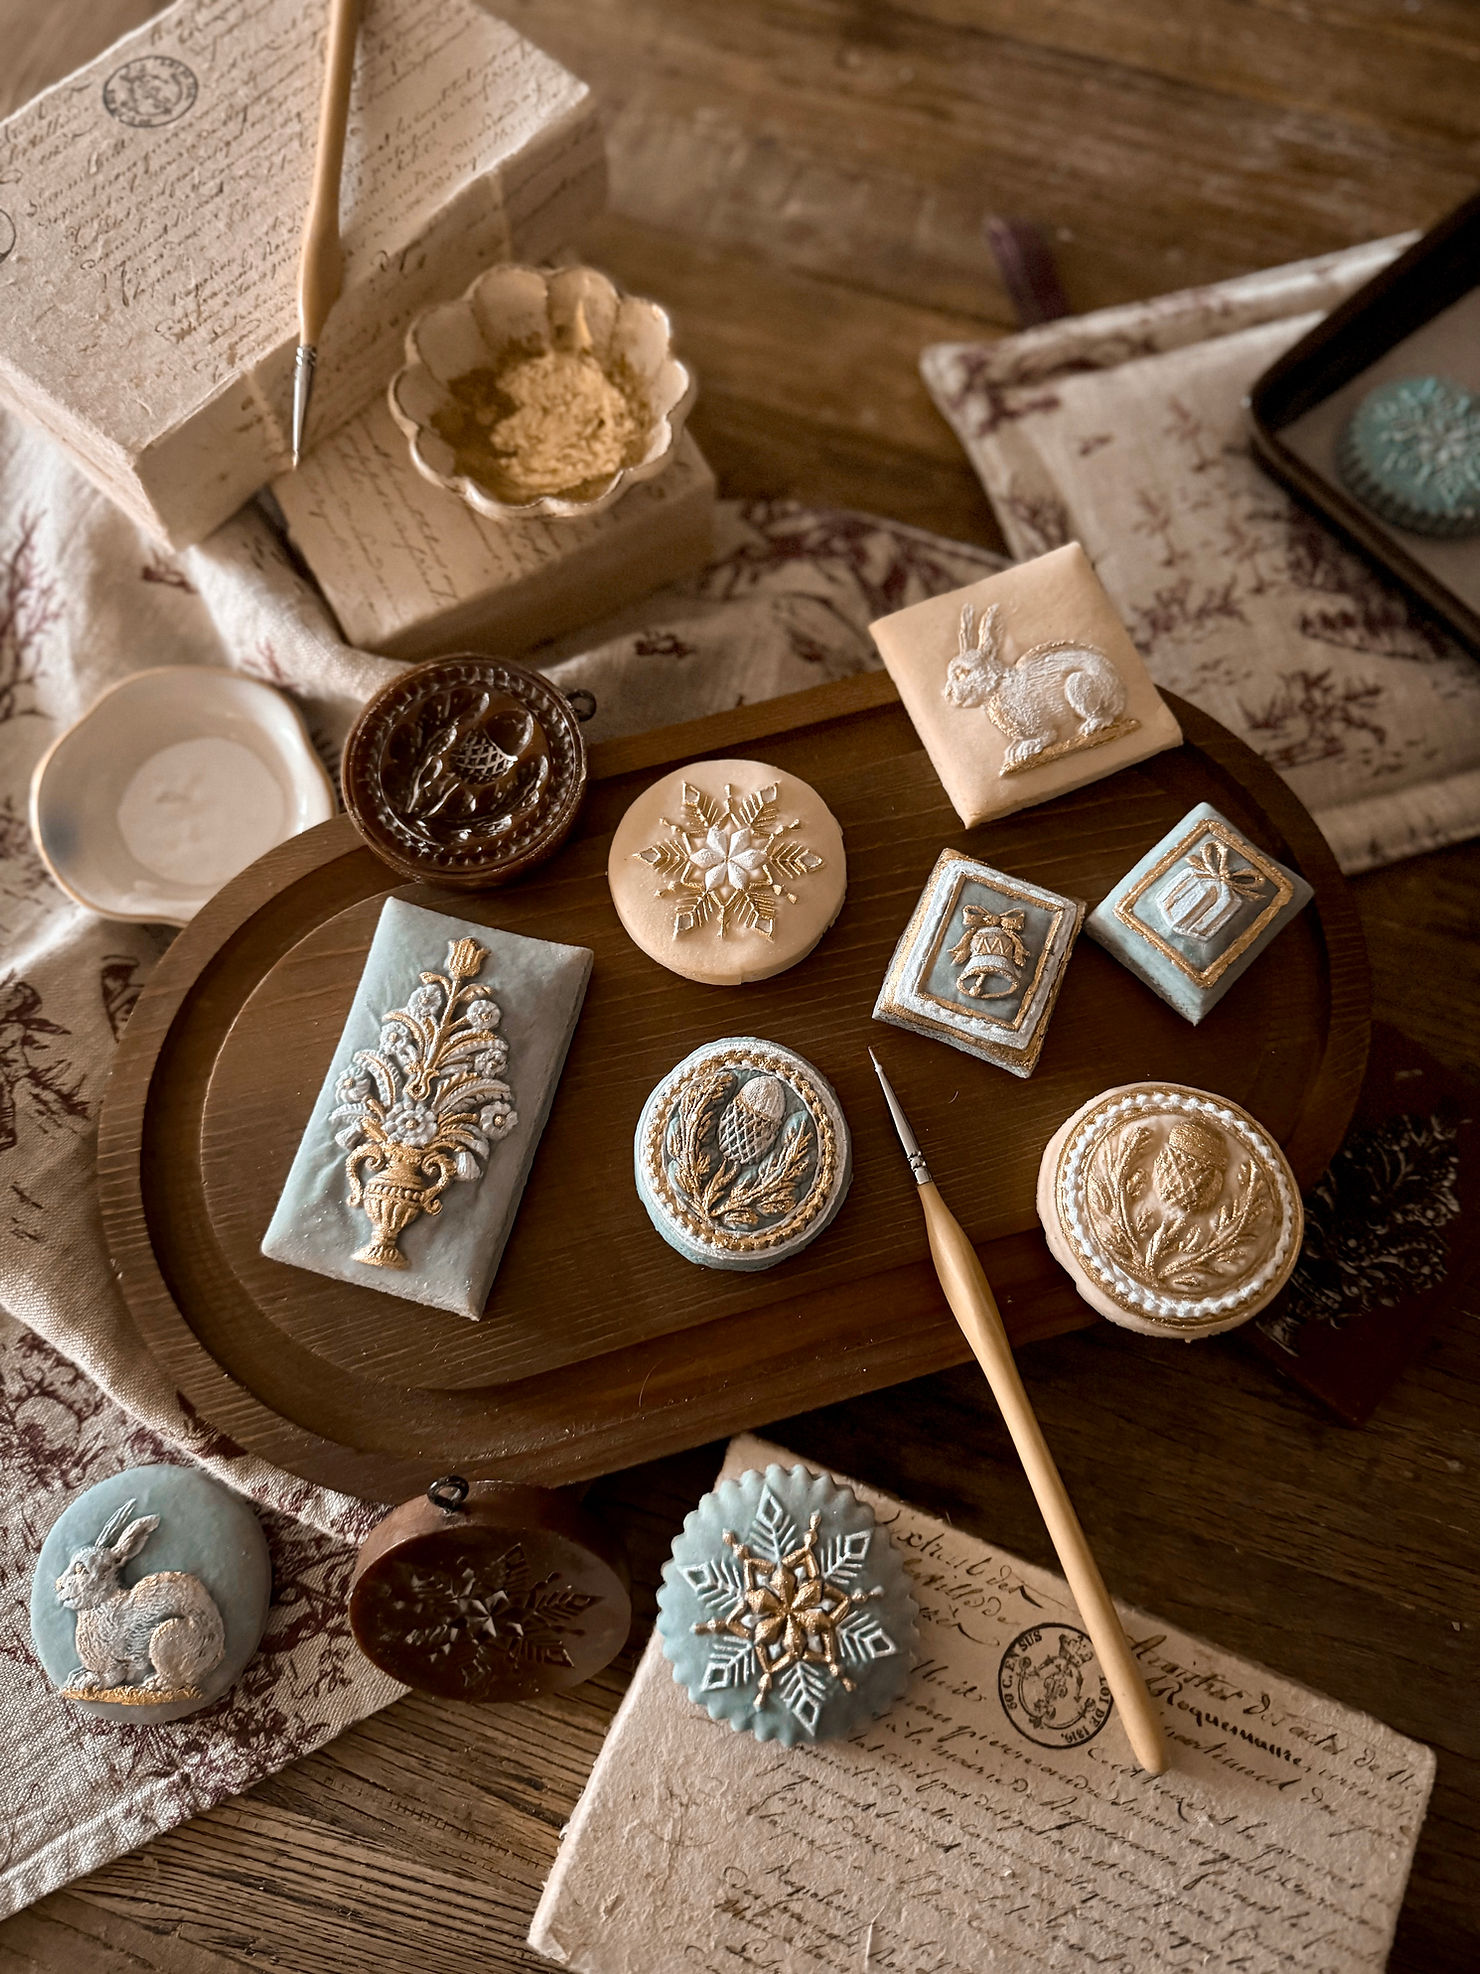
There’s something undeniably magical about Springerle cookies. A timeless Bavarian tradition, dating back to the 1600s, celebrated for their intricate embossed designs and delicate anise flavour. These historic treats are as beautiful as they are delicious, cake like in texture, making them perfect for gifting or as a festive centrepiece. Celebrate the season with this blend of history and artistry!
Here are some of my favourite sources for purchasing molds:
Yield 3-6 Dozen Cookies
depending on the mold sizes being used
Mis en Place
1/2 Tsp. Baking Powder
2 Tbsp. Milk, room temperature
6 Eggs, room temperature
6 C. Confectioners Sugar
1/2 C. Unsalted Butter, softened
1/2 Tsp. Salt
7 1/2 C. All Purpose Flour
Zest of 1 Lemon or Orange
1 Tsp. Vanilla Extract
or
1/2 Tsp. Oil of Anise
*traditionally used
Method
Step 1: Day 1
Dissolve baking powder in the milk and set aside for 15-30 minutes.
Step 2
In a stand mixer fitted with a whisk attachment whisk eggs for roughly 10 minutes,
until light in colour and thick.
Slowly beat in confectioners sugar and unsalted butter.
Step 3
Add the milk/ baking powder mixture, salt, preferred flavouring and citrus zest.
Step 4
Add flour slowly, if you cannot get it all to absorb in the mixer, add by hand.
Step 5
Once dough comes together, add colouring if desired.
*I recommend using oil based food colours or water based colour gels for good saturation.
Step 6
Keep dough wrapped as you work with it.
Roll dough on a lightly floured surface to roughly 1/2″ in thickness.
*Some molds with deeper imprints will require you to keep the dough thicker
Lightly dust molds with flour using a clean dry paint brush.
Imprint dough pushing the mold into the dough and then little wiggle to release.
Using a cutter or a pairing knife cut out your desired shape cookie around the artwork.
Transfer to a parchment lined baking sheet.
Leave cookies to dry over night at room temperature.
Step 7: Day 2
Preheat oven to 250-300 degrees Farenheit.
Test baking one of each size cookie first to ensure temperature is correct.
Large flat areas are susceptible to bubbles forming while baking,
if this happens gently press them down and return to the oven.
Based on personal experience,
smaller cookies bake anywhere from 10-15 minutes and larger ones 20-25 minutes.
Ideally you want the cookie to be just baked and barely show any colour.
Step 8
Once cookies have baked and cooled they can be painted to elevate the artwork.
If you would like to paint the cookies combine edible food colouring with a clear grain alcohol like vodka or gin in order for the paint to evaporate.
Let cookies dry before packaging or storing.
Store cookies in a sealed container and leave in a cool dry space for up to 2 months.
You can watch my process for imprinting and painting here